Microsoft Teams makes it easy to collaborate with people both internal and external to your organization. However, this ease also increases the risk of sensitive information being unintentionally shared outside the organization.
To protect your users and govern access to your information, you can use either PowerShell or Sensitivity Labels to lock down specific teams to internal users only and prevent external users (guests) from accessing them. In this article, we will explore both methods and examine the advantages and disadvantages of each.
If you're looking for an easier way to automate lockdown without the admin overhead of tinkering with scripts or complex configuration settings, have a look at SProbot's governance rules.
Our Scenario – PowerShell vs Sensitivity Labels
Within Microsoft 365, there are often always multiple ways of achieving a similar outcome. In our scenario, we will step through each method to investigate which will be better suited for preventing guest access on teams that contain sensitive content.
We have set up two separate teams to implement each method on:
- SProbot Restricted PS – This team will be using the PowerShell method
- SProbot Restricted Labels – This team will be using the Sensitivity Label method
Restricting guest access with PowerShell - Requirements
Apps & Modules
- PowerShell – There are several versions and ways to accessPowerShell, in our guide we will use PowerShell ISE.
- AzureADPreview module – Currently, the commands required only exist in the preview versionof the Azure AD Module.
- SharePoint PnP PowerShell – You can either use PnP PowerShell or the SharePoint Online Management Shell.
Roles
- Global Admin – to be able to run the AzureADPreview module and commands required, you will need to be a Global Admin in your environment. This will also cover the role requirement on the SharePoint portion of the scripts.
Restricting guest access with Sensitivity Labels -Requirements
Licensing
- SharePoint Advanced Management – You will need Microsoft Syntex –SharePoint Advanced Management licensing.
Roles
- Compliance Administrator – to be able to create the sensitivity labels needed to prevent guest access, you will need to be a Compliance Administrator.
Restricting guest access with PowerShell - How to
Step 1 – Team Details
To implement restricted guest access on a team via PowerShell, we will need to know the Object ID of the group connected to our team and SharePoint site URL. In our case, we know the title of the team is ‘SProbot Restricted PS’ so we can use the AzureADPreview module to retrieve the Object ID with the following commands:
$groupID= (Get-AzureADGroup -SearchString"<group name>”).ObjectIdThis returns the Group ID for your team and saves it to the $groupID variable.
$siteUrl = (Get-PnPTenantSite | Where {$_.Title -contains "<group name>"}).urlThis returns the SharePoint site URL linked to your team and saves it to the $siteUrl variable.
Step 2 – Preparing the setting for your team
Now that we have our Group ID, we can prepare the settings that we would like to apply to the group, in our case, disabling guest access for a team. To do this, we’re going to copy an Azure AD Setting Template and adjust the settings to fit our requirements.
We're going to use the AllowToAddGuests setting.
$template = Get-AzureADDirectorySettingTemplate| ? {$_.displayname -eq "group.unified.guest"}
$settingsCopy =$template.CreateDirectorySetting()
$settingsCopy["AllowToAddGuests"]=$False
Step 3 – Apply the settings to your team
We can now apply the settings to our team and any other teams we would like to restrict guest access for:
New-AzureADObjectSetting -TargetType Groups-TargetObjectId $groupID -DirectorySetting $settingsCopyStep 4 – Disable external/guest sharing for your site
Next, we need to stop users from sharing content from the SharePoint site connected to our team. To do this, we can use the following command:
Set-PnPTenantSite-Identity $siteUrl -SharingCapability Disabled Step 4 – Verify
With all the steps completed and the settings applied to our team, let’s verify that the settings have been applied as intended, to do this, run the following command:
Get-AzureADObjectSetting -TargetObjectId $groupID -TargetType Groups | fl ValuesThe result should look like this:

Now, when we try to add a guest to our team, we will get the following message:

We can also confirm that we won’t be able to add guest users to our team.
We can also check the settings on our site with the following command:
Get-PnPTenantSite -Identity $siteUrl -Detailed | Select Title, SharingCapabilityThis tells us that we are no longer able to share content with guests from this site.
Advantages:
- Setup – Relatively easy to set up.
- Security – Not easily changed by users.
- Licensing – No additional licensing is required.
Disadvantages:
- Auditing – It’s difficult to see which teams have had this configured on them.
- High privilege account – You need a Global Admin account to make these changes and they may occur fairly often.
- Manual process – There a multiple areas you need to make changes to and it’s easy to miss an important setting.
Restricting guest access with Sensitivity Labels
Step 1 – Create a Sensitivity Label
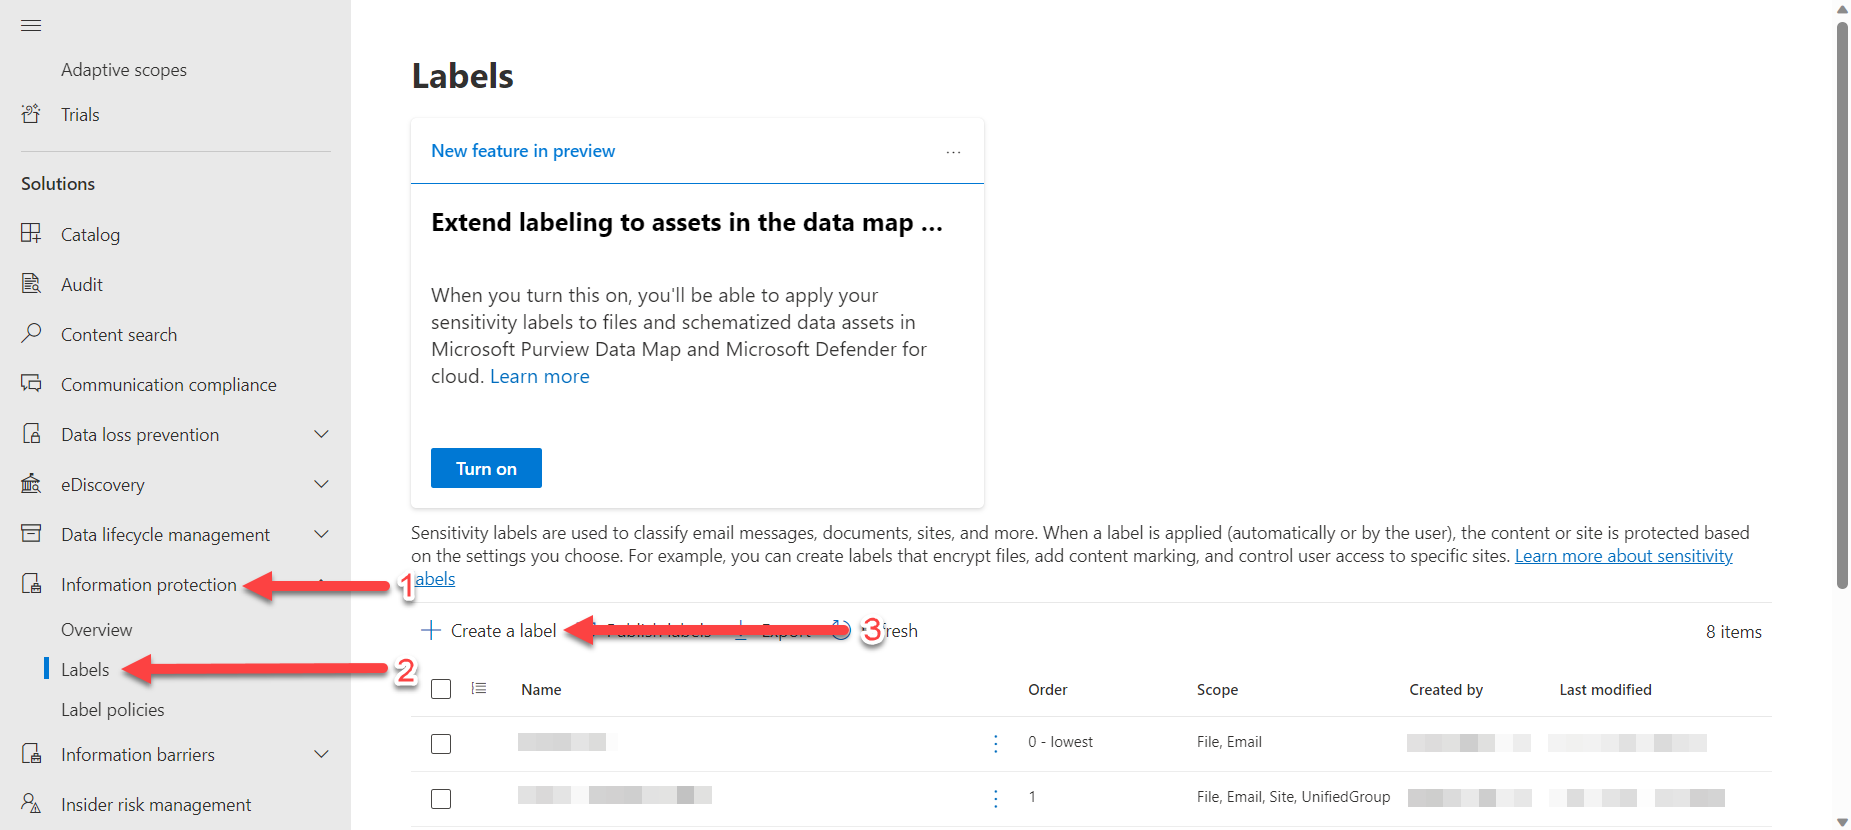
From the Microsoft Purview compliance portal, navigate to Information Protection > Labels in the left-hand navigation and select ‘Create a label’:
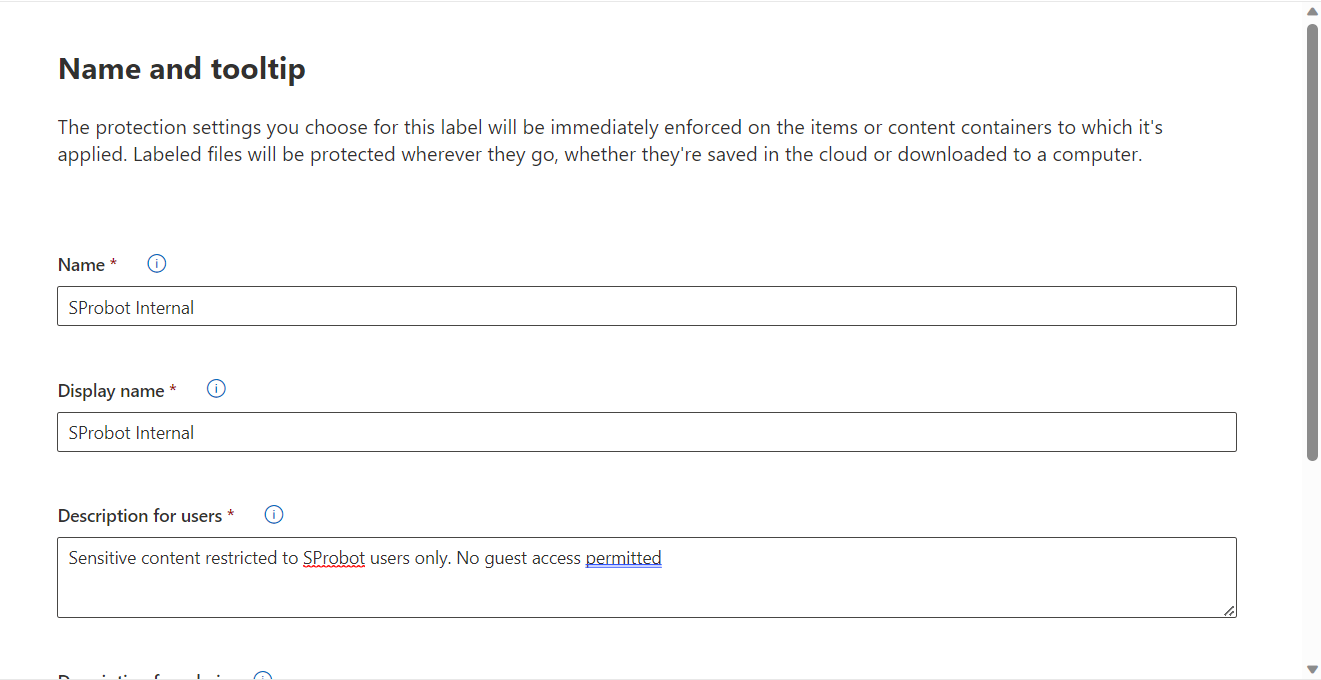
Fill-out the required information in the ‘Name & Tooltip’ section and select ‘Next’. We have used the following information:
- Name – SProbot Internal
- Display Name – Sprobot Internal
- Description for users – Sensitive content restricted to SProbot users only. No guest access permitted
- Description for admins – Sensitive content restricted to SProbot users only. No guest access permitted
- Color – Berry
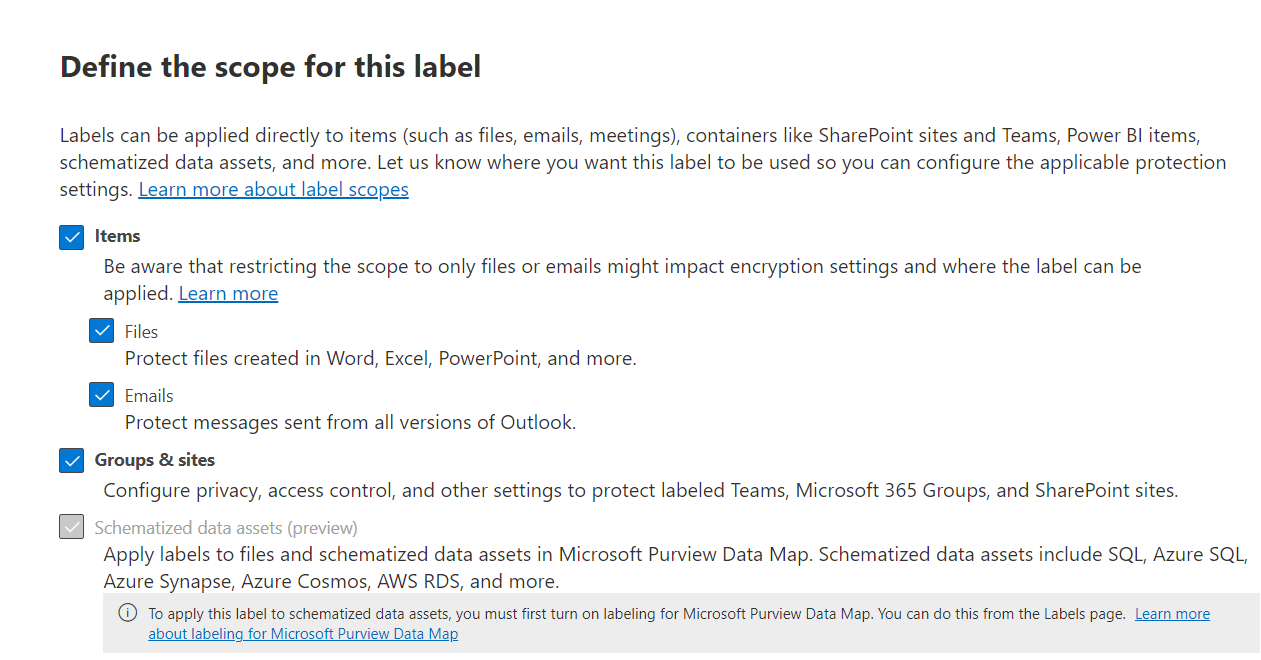
For the ‘Define the scope for this label’ section, we have left all the settings as default:
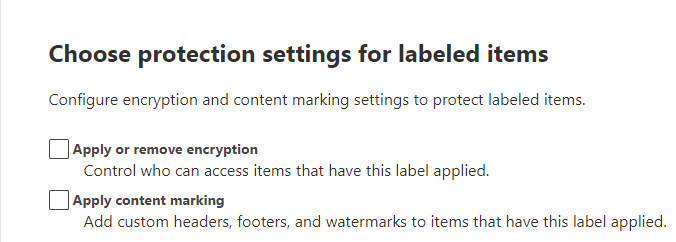
On the ‘Choose protection settings for labeled items’ section, leave the settings as default:
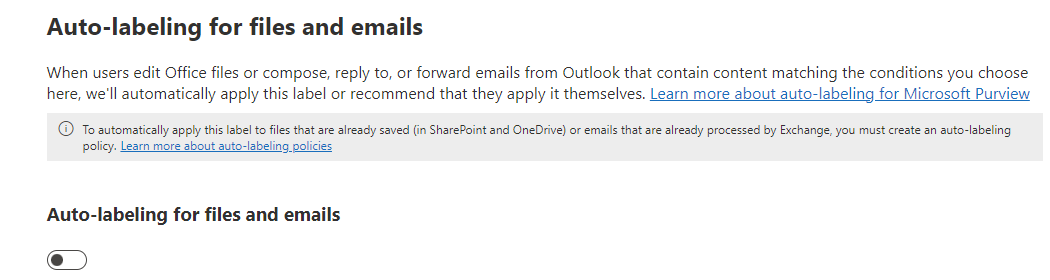
On the ‘Auto-labeling for files and emails’ section, turn on ‘Auto-labeling for files and emails’ and leave the subsequent settings as default:
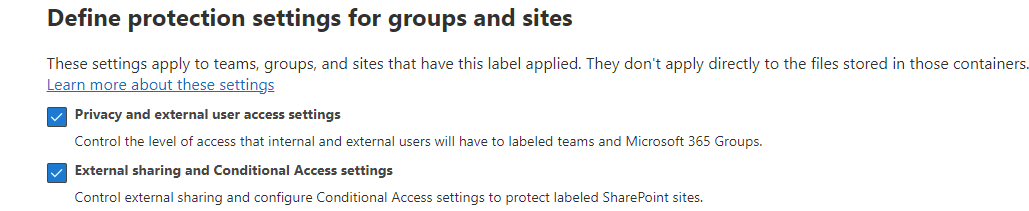
On the ‘Define protection settings for groups and sites’ page, select ‘Privacy and external user access settings’ and ‘External sharing and Conditional Access settings’ and click Next
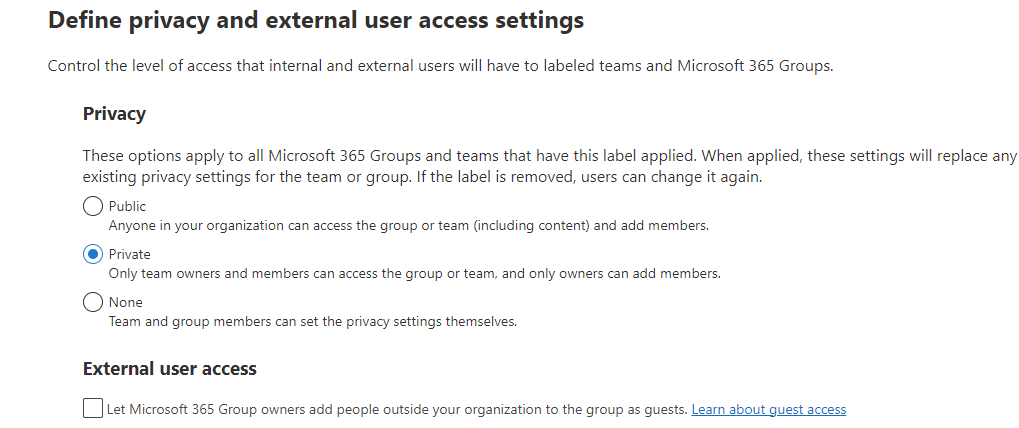
On the ‘Define privacy and external user access settings’ page, under ‘Privacy’, select the ‘Private’ option and make sure the ‘Let Microsoft 365Group owners add people outside your organization to the group as guests’ option is not selected as we don’t want to allow any guests to access our team or content.
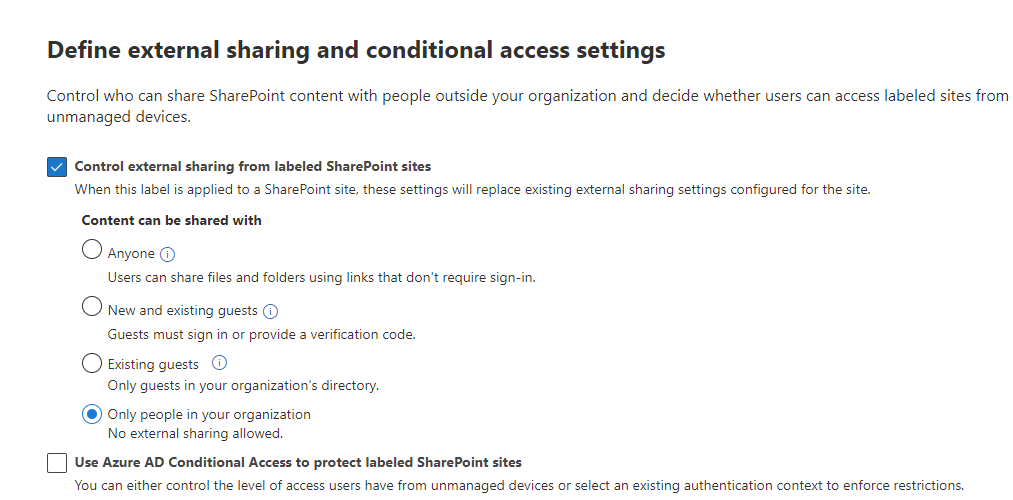
On the ‘Define external sharing and device access settings’ page, select ‘Control external sharing’ from labeled SharePoint sites and also select ‘Only people in your organization’ in the subsequent menu that pops up.
Now you can review and create and publish your new sensitivity label.
Step 2 – Apply your new sensitivity label
Once you havepublished your new sensitivity label, you may need to wait an hour or so beforeyou will be able to apply it to the teams you need. Once it is available, youcan apply the label directly from Teams, either from the teams creation screenor from the specific team’s setting menu:

Once your label has been applied you will no longer be able to add guests to your team or share content with guests.
Advantages:
- Setup – Once set up, it is easy for users to apply to teams with sensitive content.
- Security – Label changes must be made by team owners.
- Automatic labelling – Labels are added to all team content by default.
- Future Changes – Labels are easily updated or removed in future, should the needarise.
Disadvantages:
- Licensing – Additional licensing is required to implement.
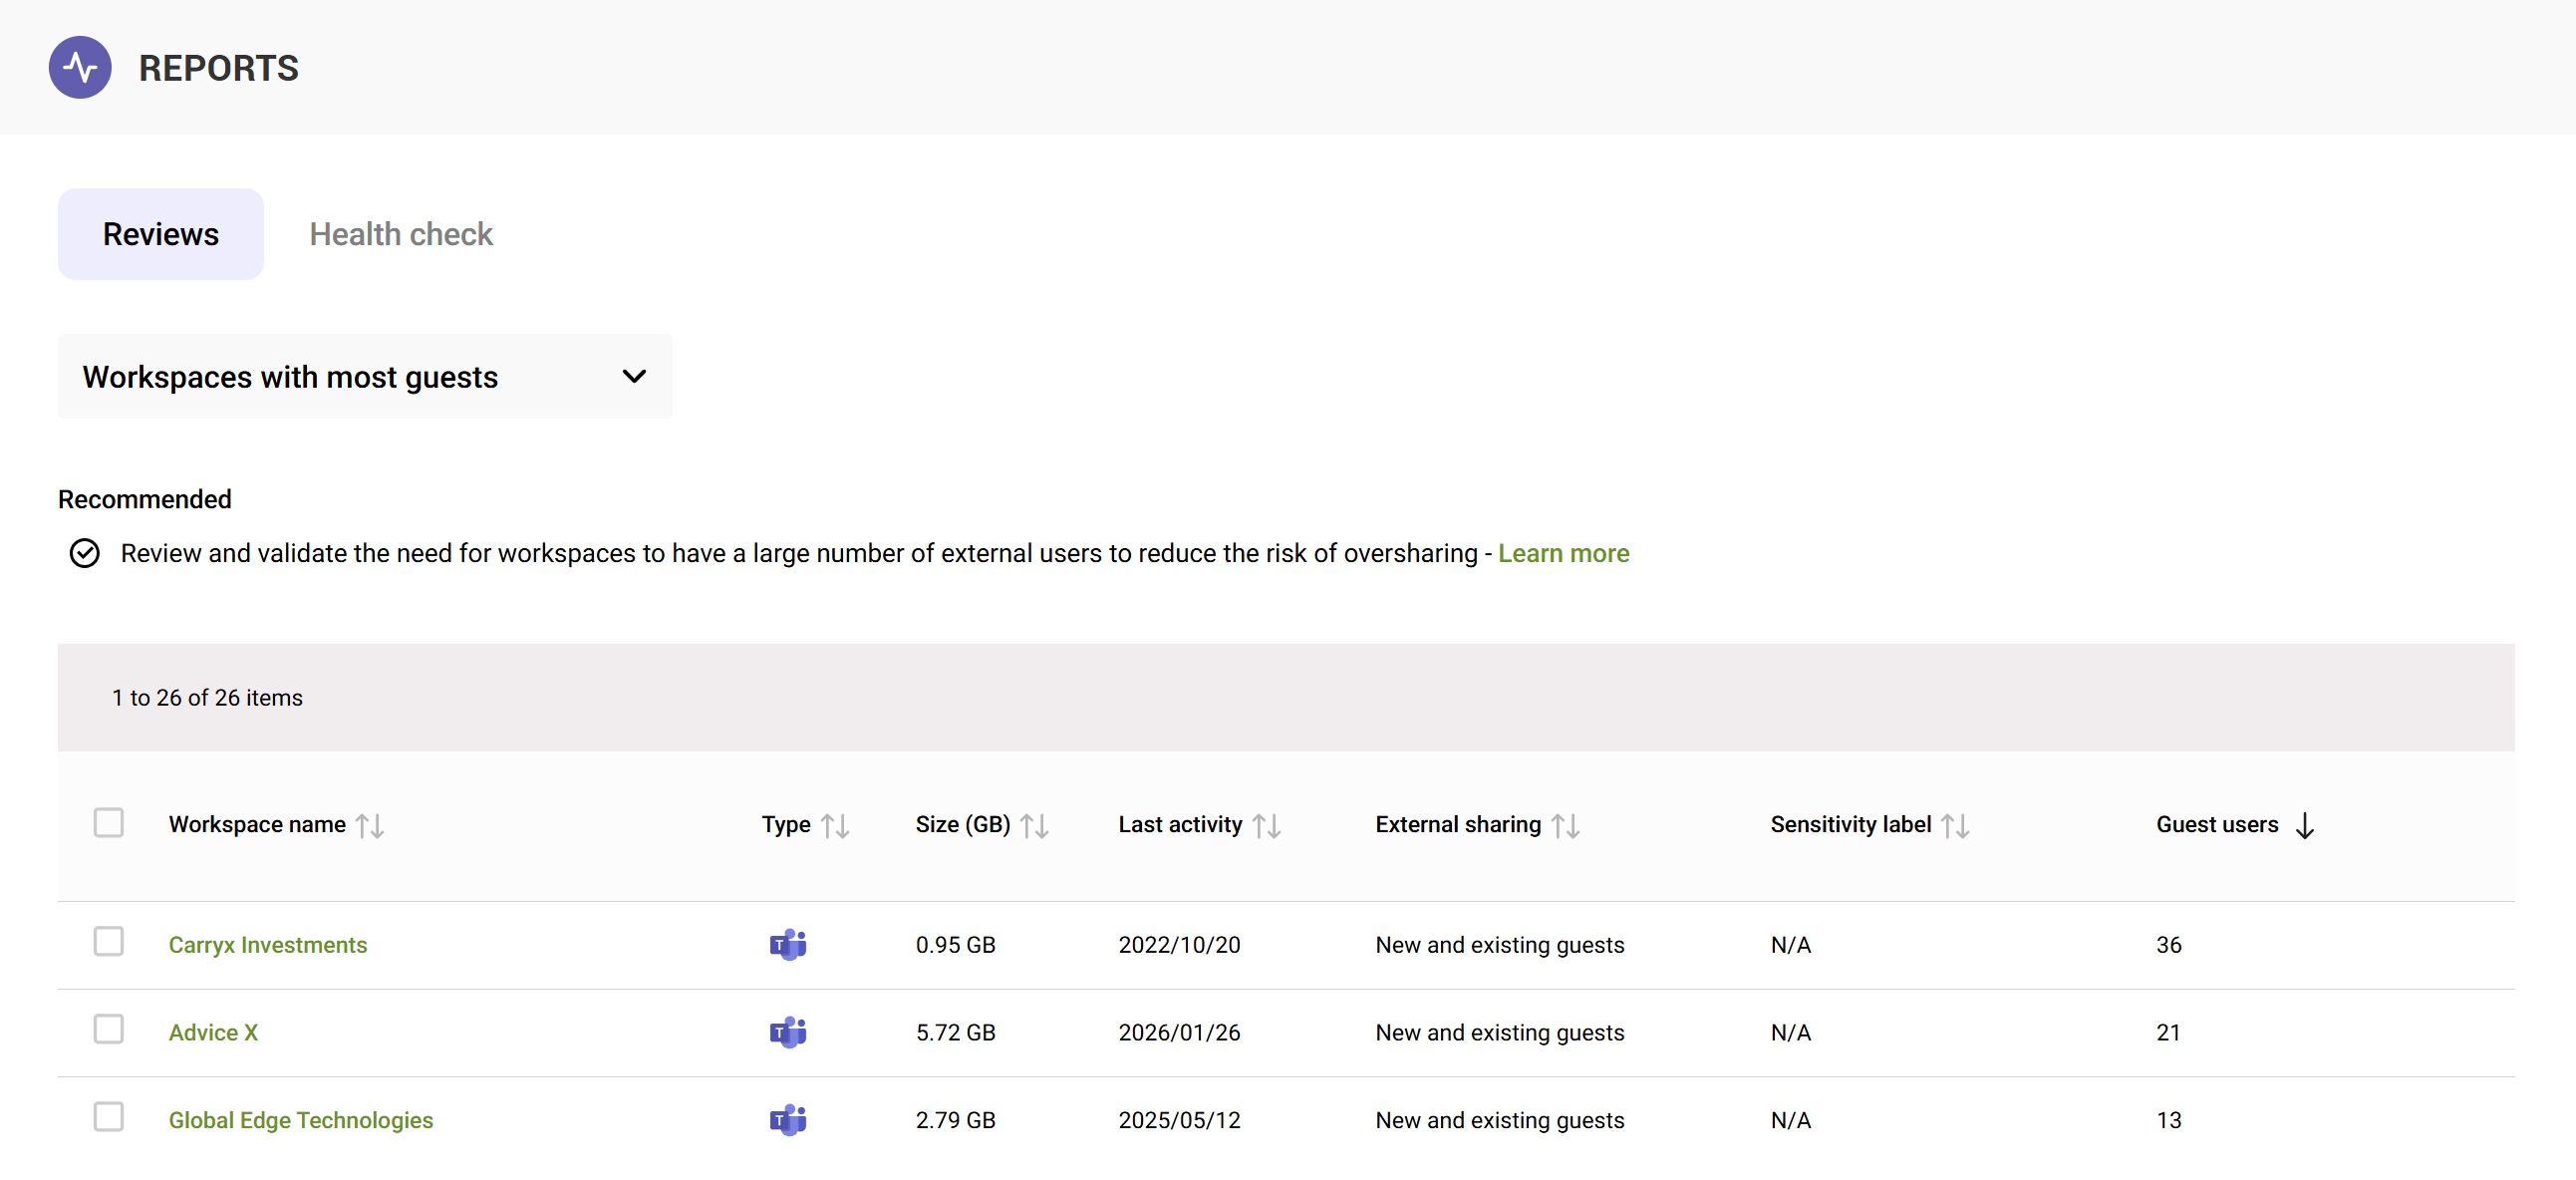
Get a view on where guests have access
Need too know exactly which teams contain guests? Use SProbot's health check for an at-a-glance view, with detailed drill-down if necessary.