
Connect SProbot to your tenant
Getting SProbot set up to start reporting and cleanup on your tenant is easy. To get started, you'll:
- Create an account
- Authorise a connection to your tenant
- Wait for your first index to complete
Once your first index is complete, you can start exploring the health check, reviews and cleanup tools.
Step 1 - Sign into SProbot
Go to https://app.sprobot.io and sign in using any Microsoft account. This account does not need to be an account on the tenant you'll be connecting to (because you can create connections to multiple tenants), but using your everyday account will make your experience seamless.

The permissions requested are the least required to simply register your user within SProbot.
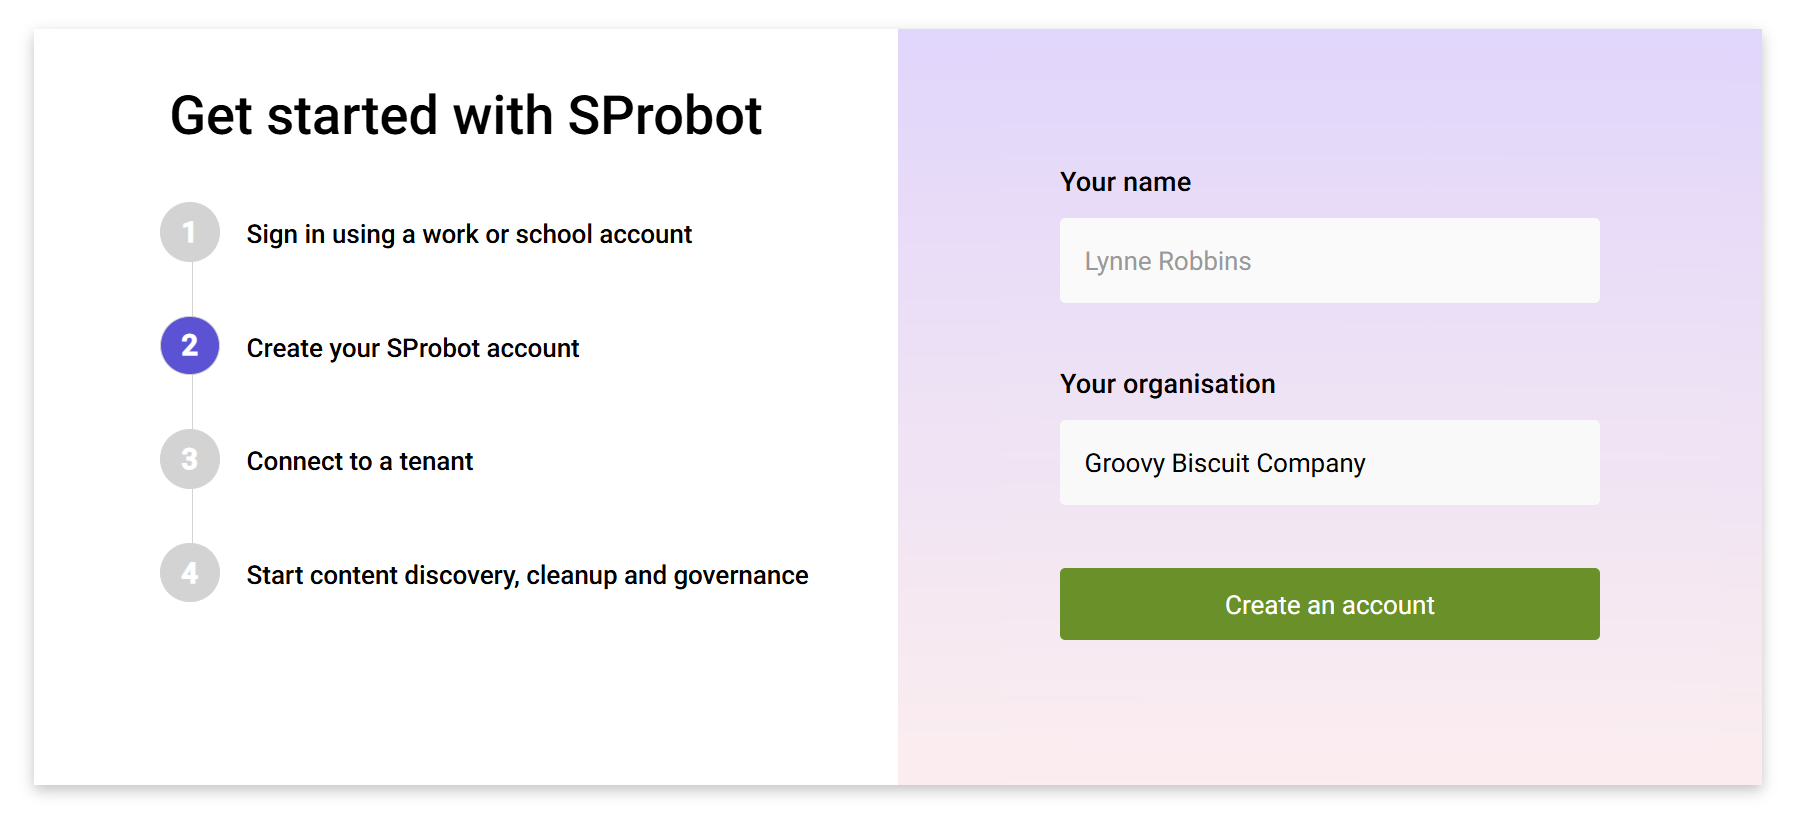
Step 2 - Create an organisational account
Once you're authenticated, you'll be prompted to create an organisational account.
Step 3 - Connect to a tenant
Once you've created and selected your org's account, you'll be able to connect to your first tenant. You can create connections to additional tenants later if you wish.
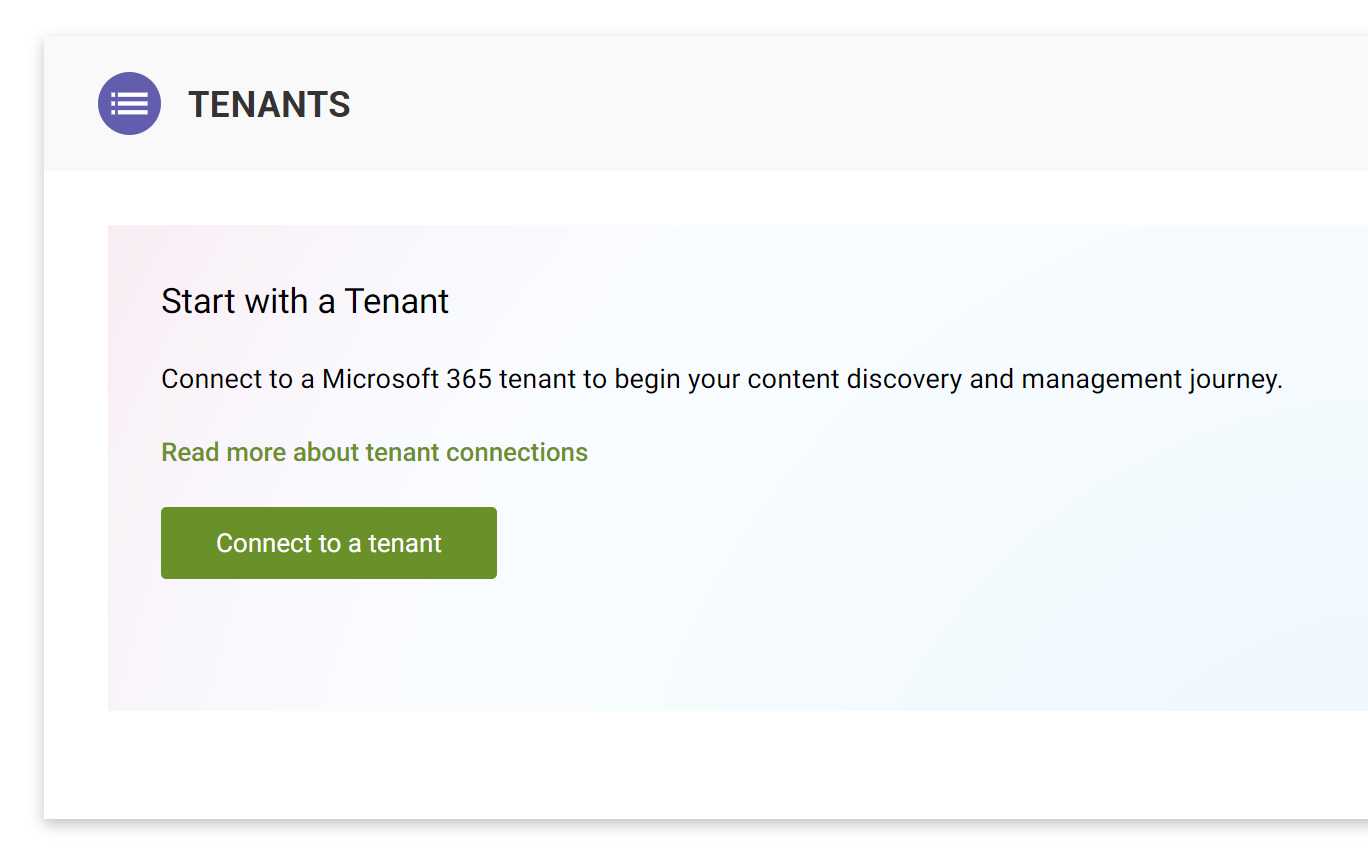
This launches the connection wizard, which will take you through:
- Entering your tenant name.
- Authenticating to the tenant with an account which has the permissions required to manage SharePoint.
- Confirming the tenant details and finalising the connection.
You only need to establish the connection once. Once it's been created, you can simply open the SProbot admin app again with full functionality.
Preparation
Before you connect, ensure that you have either the Global Administrator or Privileged Role Administrator roles assigned to your account, or have the details of a person who has one of these roles assigned.
These permissions allow SProbot to crawl the tenant to retrieve management metrics, as well as execute admin actions requested by you.
Note: The account used to created and consent to the tenant connection doesn't need to be the same account you log into SProbot with, but it is allowed to be.
Read more about the permissions you need.
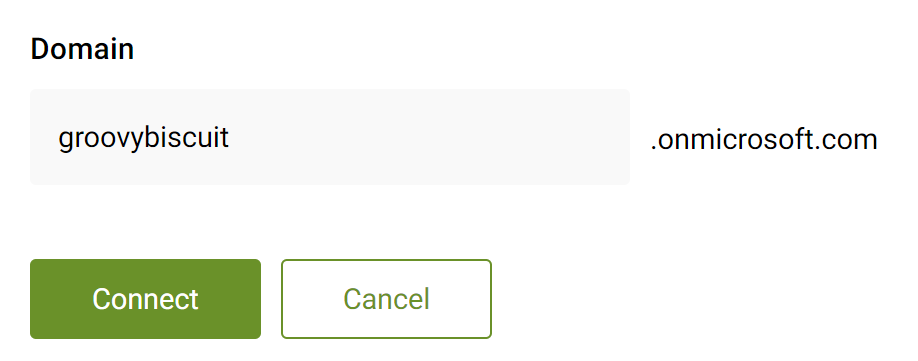
Step 3.1 - Point to your tenant
The first step is to provide your .onmicrosoft.com tenant domain.
Simply enter it and then click to Connect.
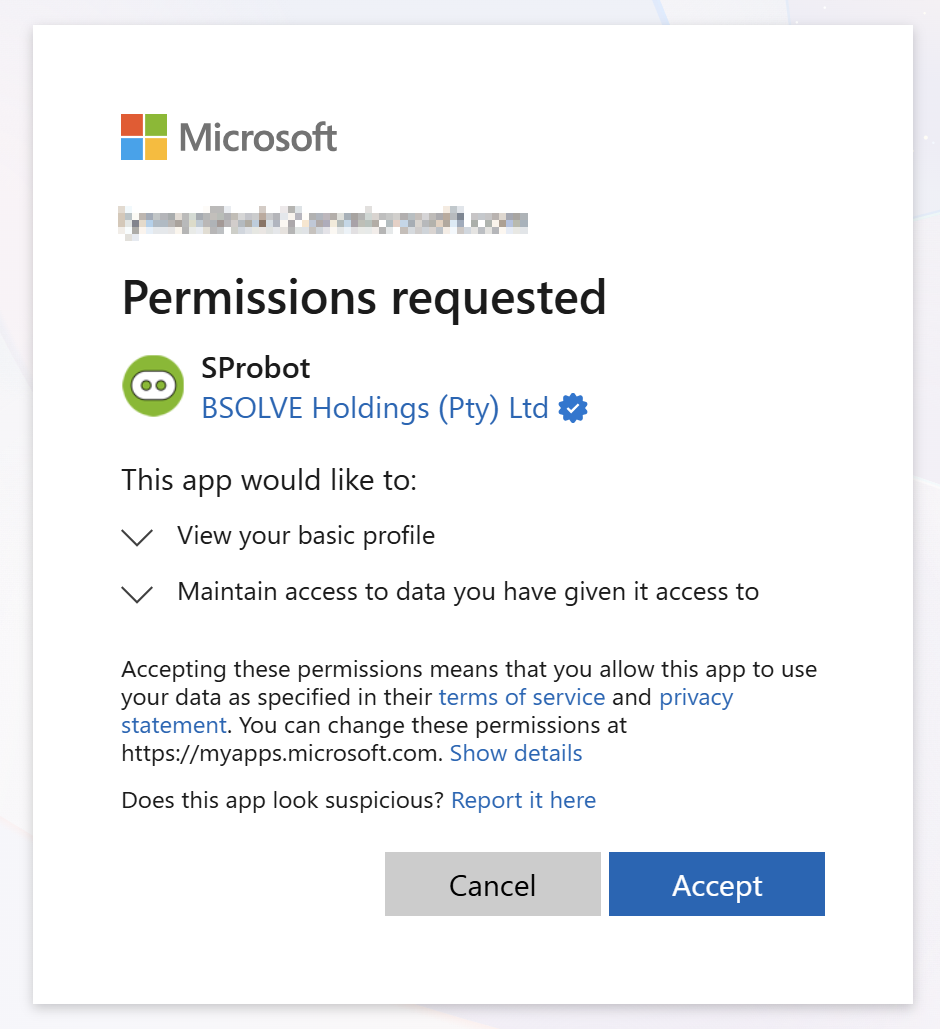
Step 3.2 - Approve permissions
You'll now need to authenticate and grant consent to SProbot using the admin account described in the Preparation section above. Note that granting consent is a one-off operation and you won't need to authenticate using this privileged account again.
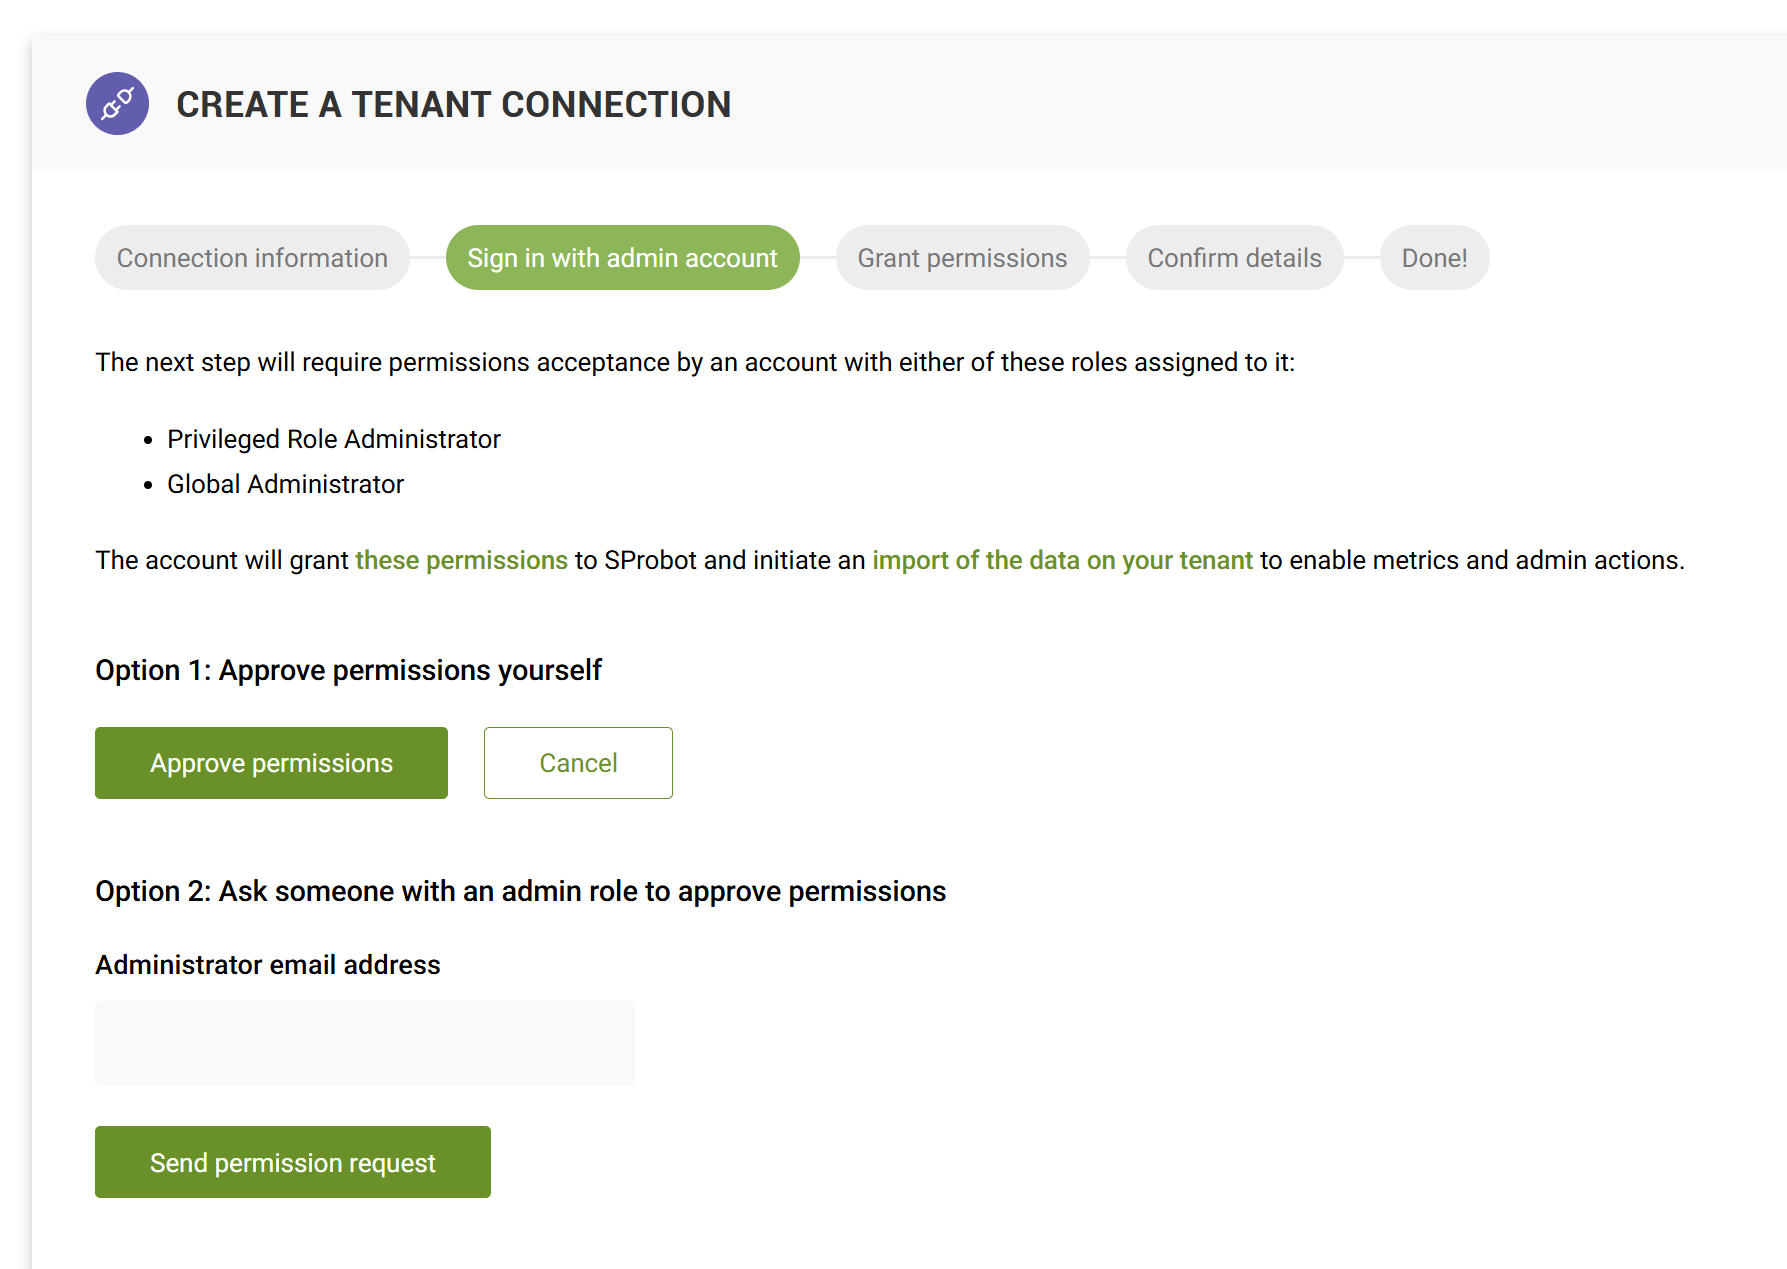
- If you have the Global Administrator or Privileged Role Administrator role yourself, click Approve permissions.
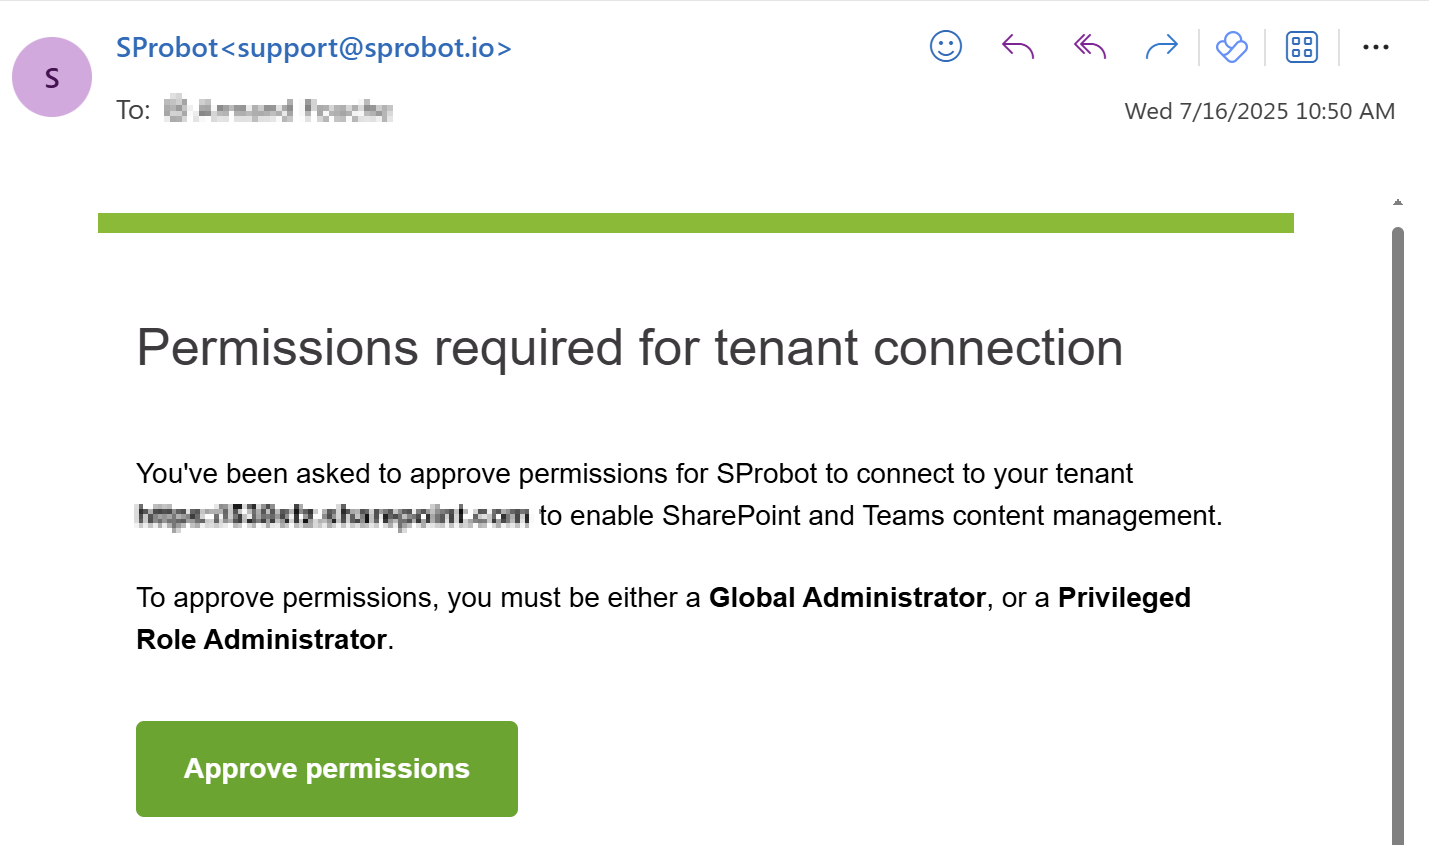
- If you don't have either of these roles, enter the email address of someone who does and click Send permission request.
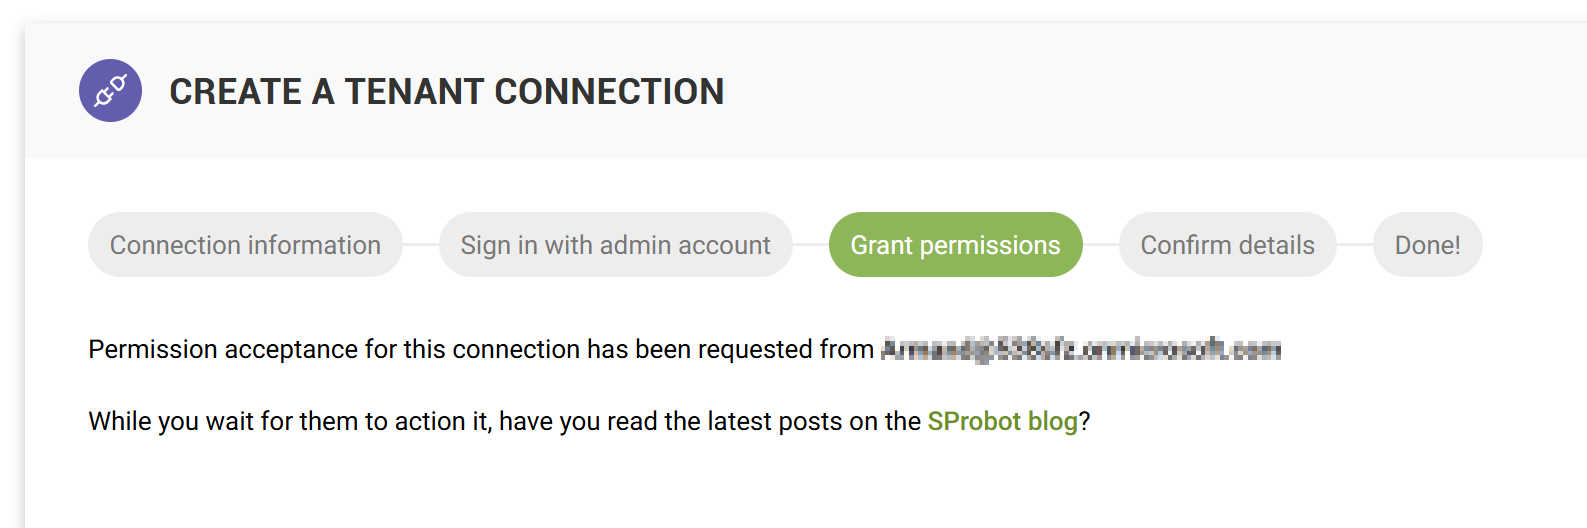
If you send a permission request, the recipient will receive it via email.
While you're waiting for approval, you'll see your connection in pending state.
Step 3.3: Confirm tenant details
Check that you're connecting to the correct tenant. If you're managing multiple tenants, you can change the display name to something that's easier to remember.
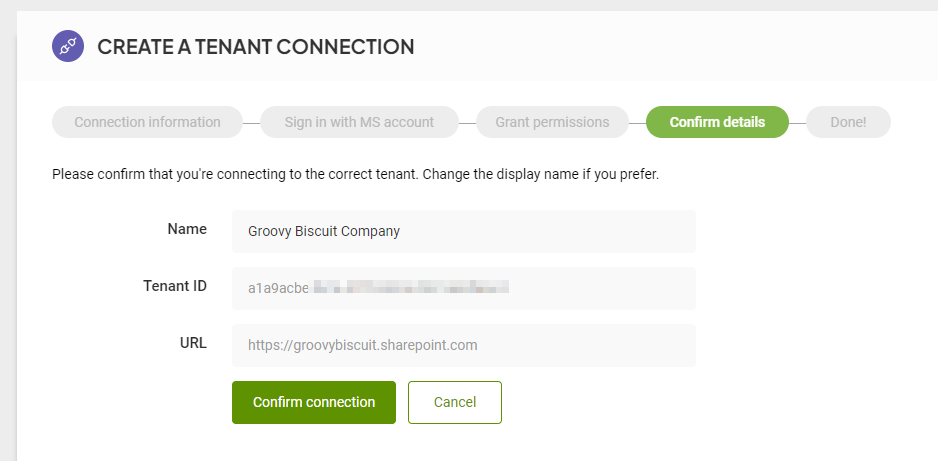
Once you've confirmed these details, you'll be redirected to your dashboard.
Your data will automatically start indexing and depending on your tenant size, will complete within a few hours and enable you to start browsing your sites using Cleanup > Search and see basic storage and ownership metrics. Thereafter, large and inactive file information will be surfaced gradually by the crawl.