

The ability to archive SharePoint sites is a powerful way to reduce SharePoint storage costs whilst still remaining compliant with document retention regulations.
In this article, we will define what site archiving is, when you should consider archiving a site, and describe the methods available to archive a site.
If you want to find out more about locking SharePoint sites, you can refer to our How to lock a SharePoint site for compliance purposes article.
Requirements
Roles & Licensing
- SharePoint Admin – To access PnP PowerShell and your SharePoint sites via the SharePoint admin center.
- M365 Business or Enterprise License – Any Microsoft Business or Enterprise license that includes SharePoint P1 or P2.
- Azure Subscription – To be able to archive SharePoint sites, you will need an Azure subscription linked to the Syntex service.
Apps & Modules – Update setting via PowerShell
- PowerShell - There are several versions and ways to access PowerShell, in our guide we will use PowerShell ISE.
- PnP PowerShell module – This module is used to export a unused SharePoint sites report and delete sites and requires SharePoint Admin to run.
What does it mean to archive a SharePoint site?
Archiving a site ensures that you retain existing content, whilst preventing the any changes or deletion by users. The SharePoint site and its contents are moved into Azure blob storage, where it no longer counts towards the tenant’s active storage quota for SharePoint. Sites that have been archived are also not accessible to users until they have been reactivated, moving them from blob storage back into SharePoint storage.
Storage for archived sites is metered and charged at a $0.05/GB/month rate vs. the standard storage rate of $0.20/GB/month.
- Frequently asked questions about Microsoft 365 Archive - Microsoft 365 Archive | Microsoft Learn
To find out more about archiving, refer to Overview of Microsoft 365 Archive - Microsoft 365 Archive | Microsoft Learn
When to archive a SharePoint site
Archiving is best when a site is no longer considered active, and its content does not need to be viewed on a regular basis but needs to be retained for legal or compliance purposes.
As an example, you have a project site that is no longer active because the project it's associated to has been completed. Instead of keeping the site active and cluttering your SharePoint environment, you decide to archive it. Archiving reduces storage costs, preserves the site and its contents, and improves the discoverability of active sites because there are less search results to consider.
How archive a site – SharePoint Admin Center
To archive a site from the SharePoint admin center, navigate to Sites > Active sites, select the site you want archived and press the ‘Archive’ button in the toolbar. You need to have Microsoft 365 Archive set up to have this option available.
*Note: If the site you want archived is associated to a team and that has any Channel sites, you won’t be able to archive it.
How archive a site – PowerShell
Ensure that you have the correct admin roles and the app registration details to allow you to connect and authenticate to your SharePoint instance through PnP PowerShell.
Archiving a site
To archive a site, you can run the following Cmdlet:
At the time of writing this article, when archiving a site via PowerShell, you will receive the following message:
The site and its contents cannot be accessed when a site is archived. The site needs to be reactivated if it needs to be accessed. Archived sites can be reactivated instantaneously, without any additional charges within 7 days of the action. After 7 days, reactivations will be charged as per Microsoft 365 Archive Billing, and will take time.
From April1st 2025, reactivation fees are no longer charged for SharePoint sites, but they cannot be archived again for 4 months after reactivation. Read more about this in Microsoft’s Tech Community article: Microsoft 365 Archive Eliminates Reactivation Fees by March 31, 2025
Reporting on archived sites
If you want to report on archived sites on your tenant, you can use the following Cmdlet:
In our filter condition, we specify that the archive status of the sites being returned must not be ‘NotArchived’ as the initial status of a site that is archived is set to ‘Recently archived' for 7 days before becoming ‘Archived’.
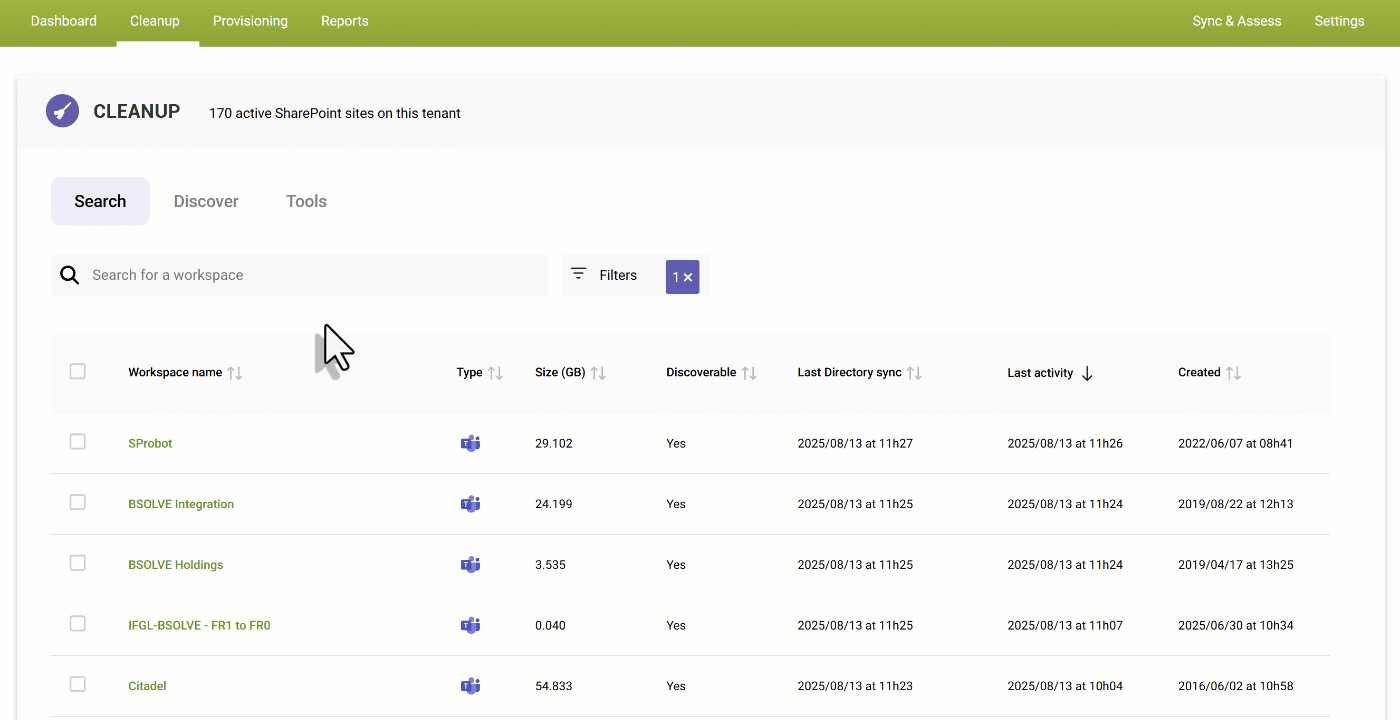
How to archive a site – SProbot
You can lock and archive SharePoint sites, either a single site at a time or in bulk. To do so, follow these simple steps:
Archive a single site
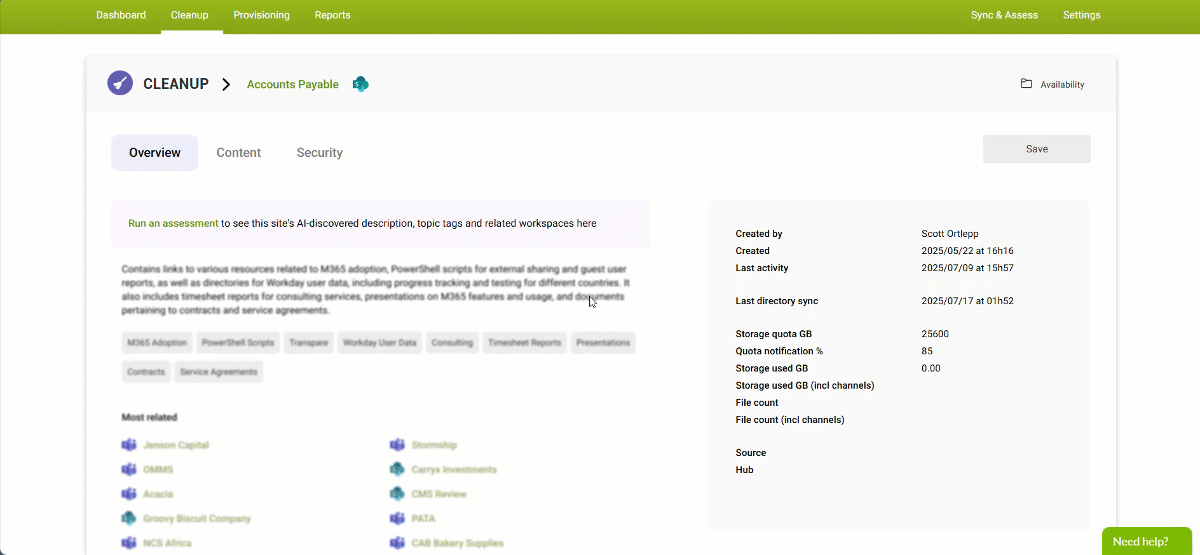
- Find the workspace you want to archive.
- On the workspace card, select Availability> Archive.
- A confirmation dialog will pop-up prompting you to press the Archive button to confirm the action.
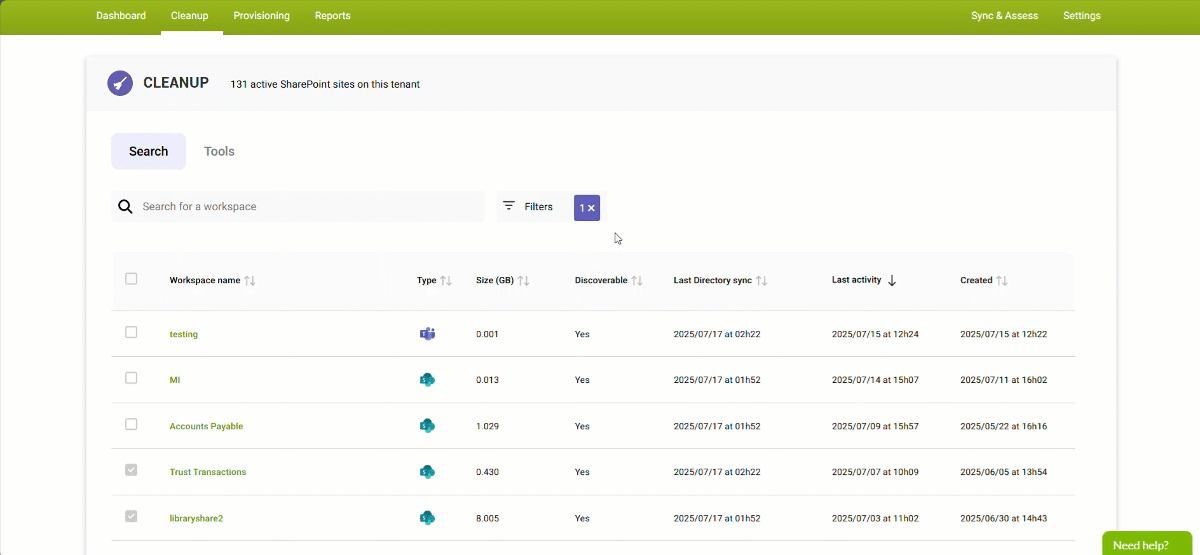
Archive multiple sites
- Using Cleanup > Search, mark the sites that you want to archive.
- In the toolbar, select Availability > Archive.
- A confirmation dialog will pop-up prompting you to confirm the action.
Advantages of archiving with SProbot
SProbot enables you to view detailed information about a site before you choose to archive it. If the site has been AI assessed, you can see a summary description of its contents, and a list of the topics this content is related to. You can also see large file, sharing links and guest users reports which enable you to make an informed decision about whether archiving or locking is the best way forward.

If you have used AI assessment to tag your sites by topic, you can also use the Discover topic cloud to find sites which match specific topics and archive them from here. This enables you to quickly action multiple sites which contain a specific type of content.