

What are storage quotas
A storage quota on a SharePoint site is a predefined limit on the amount of data - in gigabytes - that a site can store. This quota can either be set manually with a GB amount limiting the amount of data consumed by a site, or dynamically, enabling the site to consume as much storage as it needs.
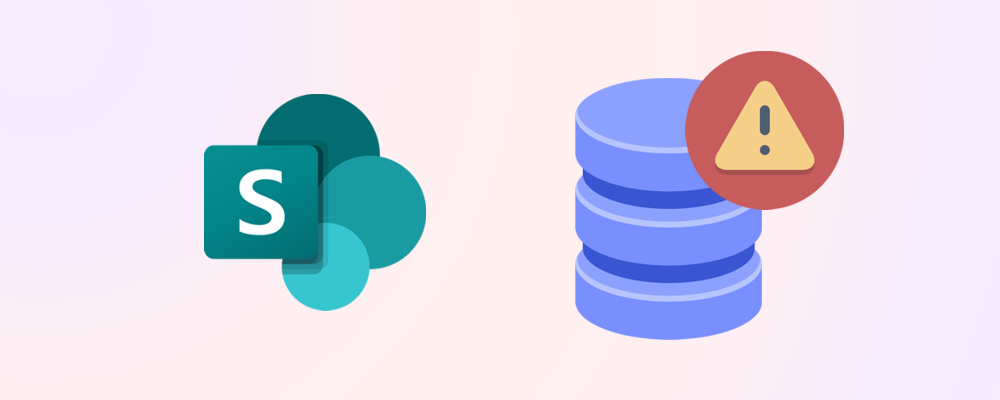
What happens when a site reaches its storage quota?
When a site reaches its storage quota, it will enter a read-only mode, preventing users from performing actions such as editing existing files or creating new ones.
Why set storage quotas?
At a tenant level, by default, SharePoint storage quotas are set to automatic. This means that any new site created will inherit this setting and consume as much data as it needs. Manually configuring storage quotas enables administrators to manage a tenant’s overall storage usage and associated costs, ensuring that no individual site consumes a disproportionate amount of resources that may potentially lead to additional storage costs.
What can I do if my tenant is full?
If your tenant’s storage quota is full and deleting sites isn't possible, consider archiving inactive sites for lower storage costs. For more details, read our article How to reduce SharePoint storage costs by archiving sites.
How to set storage quotas – SharePoint admin center
Default storage quota method
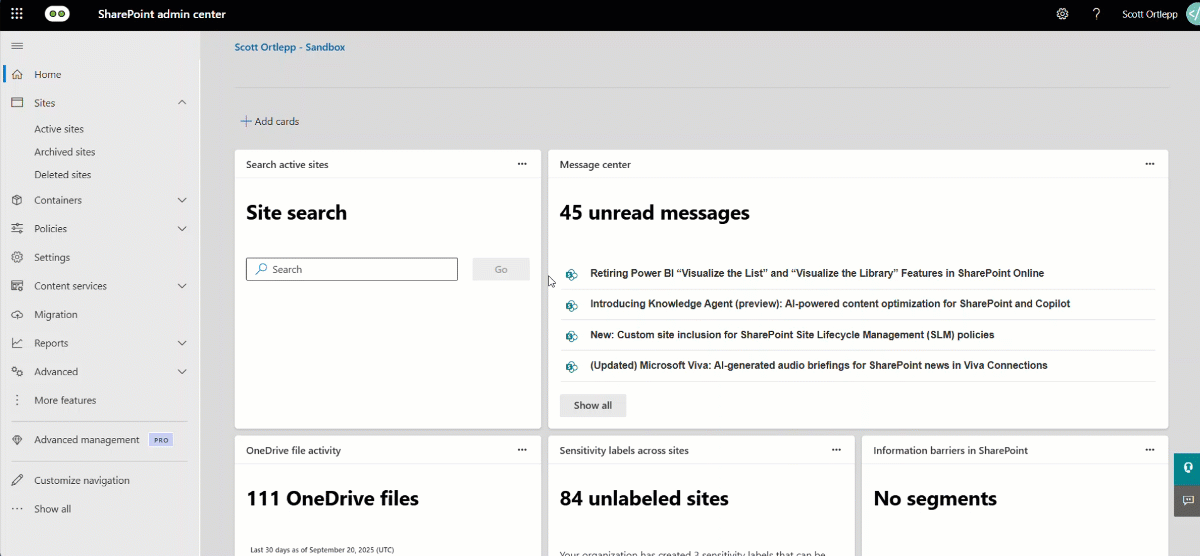
To set the default storage quota method at a tenant level for all new SharePoint sites, you can use the SharePoint admin center. Navigate to Settings > Site storage limits and select either Automatic or Manual.

*Note, existing sites are unaffected by this change.
Automatic site storage quotas
Storage quotas for newly created sites are set to Automatic if the tenant setting as above was selected as Automatic. At the time of writing, there is no way of changing a site's quota to Manual via the SharePoint admin center. It is however possible to do this via PowerShell with the following command:
Set-PnPTenantSite -URL <Site URL> -StorageQuota <Storage Quota in GB value>
*Note, this will change the site to have a manual storage limit and cannot be changed back.
Manual site storage quota – new site
Once you have set the default storage quota method to Manual, use the following simple steps to create a new site with a specific desired storage quota:
- Select Sites > Active sites and once loaded, select + Create.
- Select the type of site you’d like to create and the template you want it to use.
- Give you site a name and set the site owner and then press Next.
- Under the Storage limit option, input the desired GB amount for your new site and then select Create site.
Note: This setting only displays when creating a site via the admin center. When users create sites using the standard SharePoint UI, the standard 25 TB quota is assigned.

Manual site storage quota – existing site
To set the site storage quota on an existing site from the admin center, follow these simple steps:
- Navigate to Sites > Active sites and find the site you’d like to update the storage limit for.
- Open the details pane and select Edit under the Storage limit heading.
- Enter the gigabyte amount you’d like to set the new storage limit to. This cannot be less than the current storage consumed by the site.
- Optionally, check the Allow notification checkbox and set the percentage of storage consumed that will trigger the notification to be sent to the site owners.
- Select Save and your site's storage quota will be updated.
*Note, from the admin center, it’s only possible to set the storage quota of a site that already has a manual storage quota setting.
Automating storage quotas with SProbot Templates
Manually assigning storage quotas for each new site is a time-consuming task that usually needs careful consideration of the site's intended purpose. SProbot’s templates offer an efficient solution by allowing you to establish workspace templates with built-in governance tools, including storage quotas. You can for example define that client operational sites have a quota of 10GB, but finance team sites allow 50GB.
To see a full guide on how to set up provisioning templates in SProbot, follow our Create a SharePoint or Teams template to enable governance guide.
⭐ Bonus: SProbot templates enable you to set storage quotas on Microsoft Teams, something that you are unable to do via the Teams or SharePoint admin centers.