
Learn how to use SProbot to reach your SharePoint storage and security cleanup and governance goals.
Need to know how to connect to your tenant and clean up storage, security and put governed provisioning in place? Use the guides below to get oriented.
 How to use the Dashboard and Health Check
This guide will help you to understand how to use the Dashboard and Health Check to monitor, identify and clean up content in your tenant.
 Review fast-growing sites to free up storage
Use the sites by 30-day growth to identify sites and teams which have increased most in storage consumption
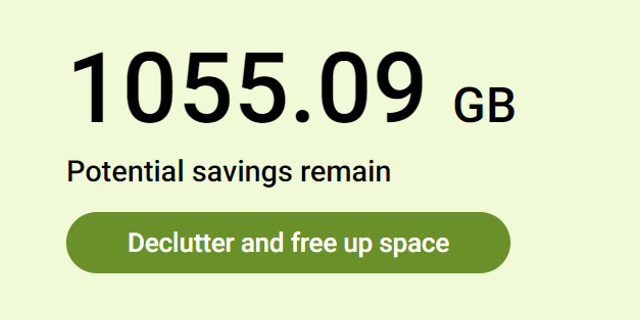
 How to use SProbot to free up storage
This guide will help you to start using the cleanup tools in SProbot in a sequence which maximizes storage savings as quickly and efficiently as possible.
Review sites with large files to free up storageUse the sites with large files review to identify sites and teams which contain large files which can be cleaned up to increase available storage
 Review sites with inactive files to free up storage
Use the sites with inactive files review to identify sites and teams which have a large percentage of inactive files
 Review SharePoint content and security issues
Use the Reviews tools to proactively identify and resolve issues which may affect storage and security on your tenant
Review and clean up inactive sitesUse the inactive workspaces review to identify sites and teams which are unused and could be archived or deleted.
 Review channel sites
Use the channel sites review to identify workspaces which have channel sites and involve additional complexity.
 Clean up subsites
Use the subsites review to identify sites which are still structured against current best practice.
 Clean up orphaned and single-owner workspaces
Use the single-owner review and orphaned sites cleanup tool to identify sites at risk of being unmanaged.
Review and clean up large filesUse the large file report to find content which may be taking up unnecessary storage due to size or an excessive number of versions.
 Review guest users
Use the guest user report to show details of all external users associated with a specific site.
 Review external sharing
Use the external sharing report to highlight sites which are available externally without restriction.
 Clean up sharing links
Use the sharing links report to list and clean up internal and external sharing links within a site.
 Get started with SProbot - Reduce storage costs and increase security
This guide provides an overview of the initial onboarding steps needed to start using SProbot.
 Clean up SharePoint content in your tenant
Use the tenant cleanup tools to remove unwanted duplicate, test, empty, inactive and orphaned content, and to reassign ownership of SharePoint sites and teams.
 Use AI to assess the SharePoint and Teams content in your tenant
This guide will show you how to use AI assessment in SProbot to automatically describe, tag and enable cleanup of the SharePoint site and teams in your tenant.
 Crawl your tenant with SProbot
This guide explains how SProbot indexes and crawls the data in your tenant to enable storage and security cleanup.
 Use the SProbot Teams app to manage workspaces on your tenant
The SProbot Teams app can be used to find existing SharePoint sites and Teams in the directory, to request new workspaces, and to manage existing requests.
Make the SProbot Teams app available to your usersUse the steps in this guide to make the SProbot Workspaces app available to your users in Teams.
Connect SProbot to your tenantBefore you can start reporting, cleanup and provisioning actions, you need to connect to your tenant.

